What Should You Look for When Walking an Autocross Course?
Use the course walk to identify the next decision point and the cost of getting it wrong. In autocross, the course is temporary and cone-defined, so the biggest gains usually come from reading sequence, rhythm, and setup—not from memorizing every cone. A good walk also helps you spot safety margins, worker exposure, and the places where speed must be managed early.
What a course walk
A course walk is your chance to read a cone-marked layout before the car leaves the grid. Autocross is a timed competition with cars sent out one at a time, and the course is laid out on asphalt or concrete with cones. Walking with a course map lets you turn a shape on paper into the order of corners, straights, and transitions on site.
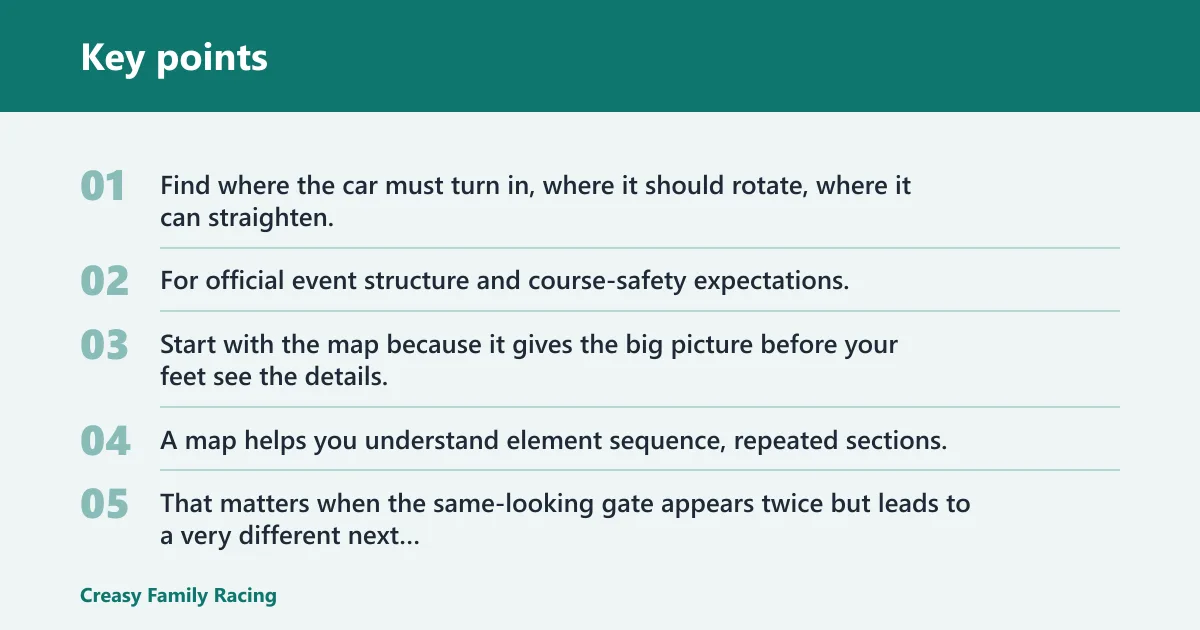
Do not treat the walk as a lap around cones. Treat it as a search for decisions. Find where the car must turn in, where it should rotate, where it can straighten, and where the course designer has made speed expensive. For official event structure and course-safety expectations, clubs typically work from SCCA Solo rules and event guidance, which emphasize clear course definition, safe worker placement, and controlled speeds appropriate to the venue and layout.
Read the course map first
Start with the map because it gives the big picture before your feet see the details. A map helps you understand element sequence, repeated sections, and where the course changes direction. That matters when the same-looking gate appears twice but leads to a very different next corner.
Many clubs recommend arriving early enough to walk the course before running. Walking the course is often done with a map and repeated laps on foot, and working the course also gives drivers a chance to watch others and learn driving lines.
Find the next decision point
At each section, ask one question: what choice does this corner force next? A gate, slalom, offset, or sweeper usually changes your line before the visible corner is done. If you identify the next decision point, you can plan entry speed, steering load, and where the car needs to be on exit.
Separate the layout from the car’s view
A course can look wider, tighter, or straighter on foot than it will from the seat. Cones close together can hide the true path, and a long straight may actually feed a bend that starts earlier than you expect. Walking forces you to judge the layout from above instead of from behind the wheel.
Autocross course basics
Autocross courses are temporary, and the details change every event. Some layouts use lots of cones to wall off the course, and gated courses use pairs of cones scattered over the course. Legibility affects speed and safety because the driver, worker, and course designer all depend on the same thing: a course that clearly shows where a car should and should not go.
A good autocross run is often in the 45- to 70-second range, though event format, venue size, and class mix can shift that. Typical course average speeds are commonly discussed in the mid-30s to mid-40s mph, but clubs can vary above or below that depending on space, grip, and design philosophy. SCCA Solo materials and event guidance also emphasize keeping course features readable, with worker stations and boundaries arranged so cars remain on course and away from hazards.
What the course designer is telling you
The designer controls speed with straight length and element severity. Short straights after a gate mean you must get the car settled early. Long straights before a sweeper usually signal a place to build speed, then brake once, not twice. A tight cluster of elements often means the course wants rhythm more than commitment.
Look for where the designer gives speed back and where the designer takes it away. That pattern often tells you where mistakes will happen.
What should you notice first when you walk an autocross course?
Notice the start-to-finish order first, then the first turn and first braking point, then any place where the course narrows or opens up. Those three things set the tone for the run. If you know where the first commitment point is, the rest of the course becomes easier to group and remember.
Do not start by memorizing every cone. Start by finding the shape of the run: where it accelerates, where it changes direction, and where the course asks for patience. A cone is only useful if you know what comes after it.
The first turn decides the rhythm
The opening corner often defines how hard you must slow down and how much margin you need for the rest of the first section. If the first gate feeds directly into a slalom, the car needs to be placed cleanly and early. If the first gate opens onto a sweeper, the opening line may reward a wider entry and a later apex.
Look for compression and release
Some sections squeeze the course into a narrow channel, then open into space. Others do the reverse. That change tells you where the line must tighten, where a mistake can snowball, and where the course designer is likely to punish a late setup.
Course walk checklist
Use this checklist as a repeatable scan order. It keeps you from wandering mentally and missing the same features that catch most beginners: decision points, transitions, and the places where a cone pair changes the whole run.
| Element to identify | What it means for the next corner | Most common beginner misread |
|---|---|---|
| Start gate | Sets the first acceleration and the line into the opening turn | Thinking the start is a straight sprint instead of a setup zone |
| First braking point | Shows where speed must come off before the first change of direction | Braking too late because the first cones look farther away on foot |
| Gate pair | Defines the path the car must take through the course | Reading the cones as a corner marker instead of a required passage |
| Slalom entry | Sets the rhythm for the entire cone line | Fixating on the middle cones and missing the entry angle |
| Offset or Chicago box | Forces a lane change under braking | Preparing for a normal corner instead of a direction change with load |
| Sweeper entry | Shows where the car must be placed before sustained cornering begins | Turning in too early and crowding the exit |
| Decreasing-radius section | Signals that the corner tightens and the exit matters later than it seems | Assuming the radius stays constant all the way through |
| Hazard side | Tells you where extra margin matters near poles, curbs, spectators, or worker areas | Looking only at cones and ignoring what sits outside the course |
| Corner-worker station | Shows where the course must remain visible and where a missed line should not send a car | Assuming worker placement is only about convenience |
| Finish chute | Should be a straight, well-marked run to the timing lights | Attacking the finish as if it were another corner |
| Element type | What to identify | Preferred setup cue | Common misread |
|---|---|---|---|
| Slalom | Alternating cone line with an entry, middle, and exit | Set the first cone cleanly and keep rhythm through the line | Reading it cone by cone instead of as one rhythm section |
| Offset / Chicago box | Two elements that demand a lane change, often while braking | Leave room to move the car sideways before the second change | Treating it like two separate corners with no lateral demand |
| Sweeper | Long arc that may hold speed or tighten late | Turn in patient enough to preserve exit room | Turning in early because the entry looks wide and forgiving |
| Finish chute | Straight or nearly straight run to the timing lights | Keep the car straight and stable after the last decision point | Driving it like a final corner and overworking the last meters |
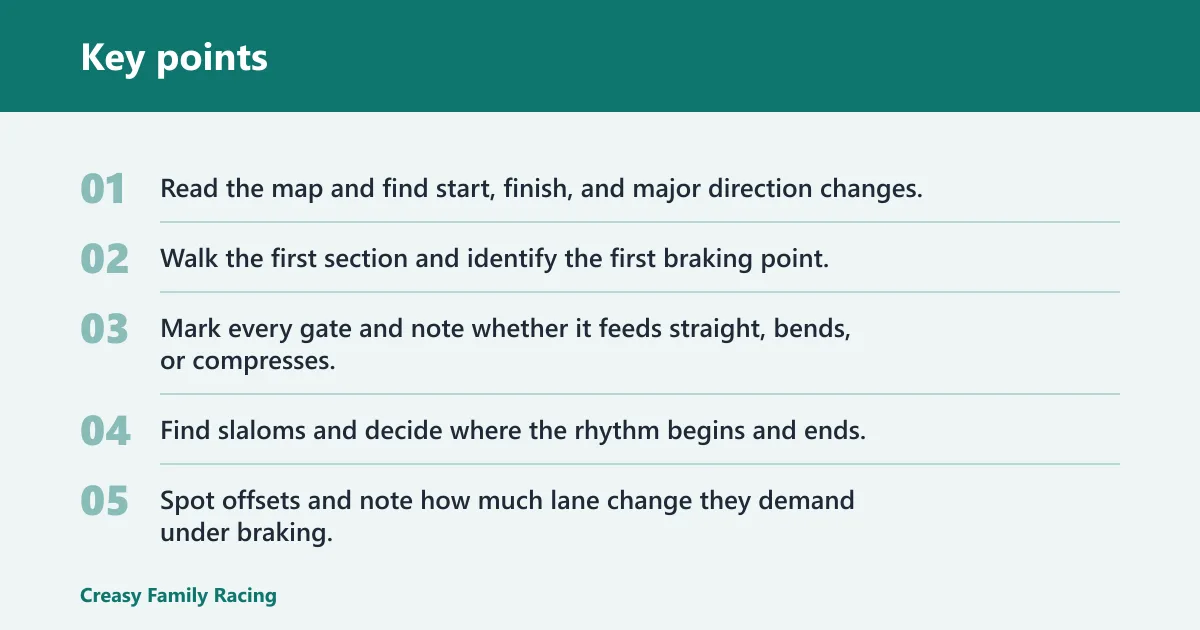
- Read the map and find start, finish, and major direction changes.
- Walk the first section and identify the first braking point.
- Mark every gate and note whether it feeds straight, bends, or compresses.
- Find slaloms and decide where the rhythm begins and ends.
- Spot offsets and note how much lane change they demand under braking.
- Trace sweepers and ask whether the radius stays constant or tightens.
- Check the outside of the course for poles, curbs, spectators, and worker stations.
- Find false straights and hidden apexes before you try to memorize details.
- Group similar sections into chunks you can recall quickly.
- Walk the finish last so the end of the run is as clear as the start.
How do you read each element?
Read each element by asking what the next one requires, not by naming the cones in front of you. A gate tells you where the car must pass. A slalom tells you about rhythm. An offset tells you about lane change under braking. A sweeper tells you how long the car stays loaded and whether the corner tightens near the exit.
Gates and cone pair spacing
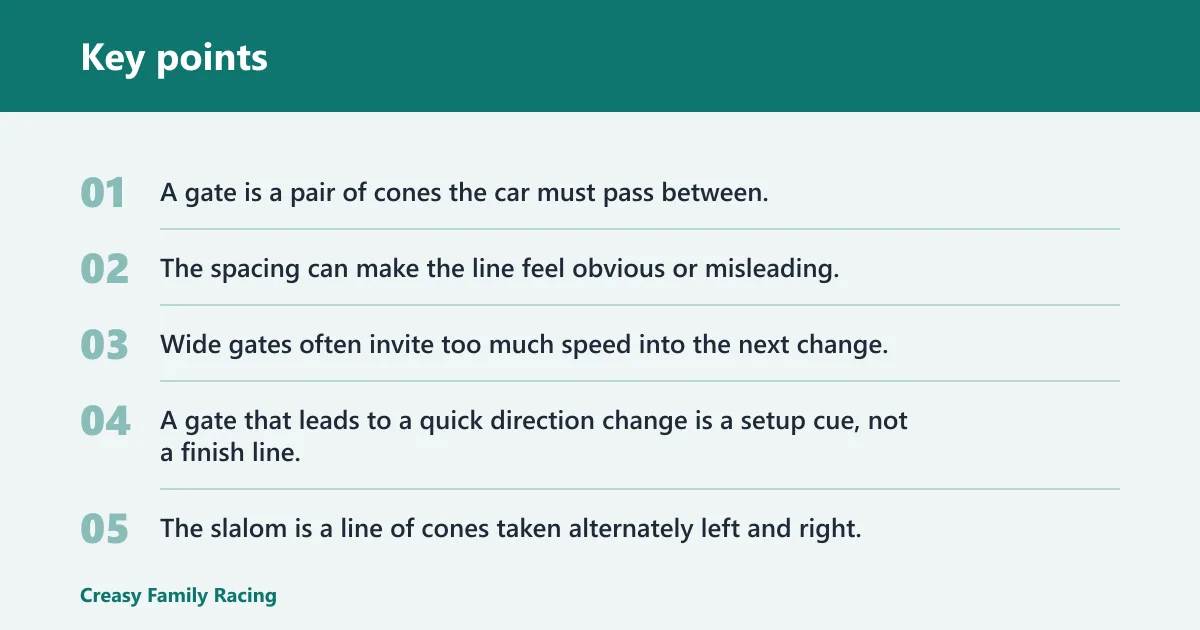
A gate is a pair of cones the car must pass between. The spacing can make the line feel obvious or misleading. Wide gates often invite too much speed into the next change, while tighter gates can hide how soon the car must be placed for the following corner.
Watch what the gate opens into. A gate that leads to a quick direction change is a setup cue, not a finish line.
Slaloms and rhythm changes
The slalom is a line of cones taken alternately left and right. Spacing controls speed and rhythm. A slalom may start wide and tighten, or start tight and open. That change matters because the first cones tell you how aggressively you can build the car’s side-to-side motion.
Do not read a slalom cone by cone. Read it as a rhythm section with an entry, a middle, and an exit. The first cone decides the setup for the rest of the line.
Offsets and Chicago boxes
An offset, sometimes called a Chicago box, forces a lane change under braking. It is easy to misread because it looks like a pair of gates rather than a directional demand. The main question is not where the cones sit, but how quickly the car must move sideways while the speed is still coming down.
Picture a section with two gates that appear aligned from the far side of the lot. On foot they seem simple. From the cockpit, the second gate may demand an immediate lane change after braking, so the first gate must be taken with enough exit room to set the car for the shift.
Sweepers and decreasing-radius turns
A sweeper is a long constant-radius arc. A decreasing-radius sweeper is a common challenge for reading the course because the corner tightens after the driver has already committed. That means an entry that feels safe early can become too fast late.
Look for the cone spacing and the way the arc bends relative to the rest of the course. If the exit closes in, the safe line is usually more patient at turn-in than the sightline suggests.
What makes a section hard to read?
Sections become hard to read when the course gives you shapes that look the same but behave differently. Mirrored gates, repeated offsets, false straights, and hidden apexes all ask you to remember transitions instead of isolated cones. That is where most mistakes happen.
Visual traps and mirrored shapes
A mirrored section can make the second half feel like the first half repeated. It is not. The exit of the first element often becomes the entry to the second, and that transition may change the whole decision. If two gate pairs look alike, check what sits after each one before you commit the line to memory.
Hidden apexes and false straights
A hidden apex is a cone or point of rotation that is not obvious from your first step onto the course. A false straight is a section that looks like a run of acceleration but still needs a steering or braking decision. Both are common reasons drivers arrive at the wrong place too early.
The car then arrives wide at the wrong moment, and the next section has to be rescued instead of driven cleanly.
When repeated elements cause memory errors
Repeated slaloms and repeated offsets create memory problems because the brain stores the shape, not the sequence. Fix that by attaching each repeat to a landmark, a worker station, or a hazard side. If two sections feel identical, tie each one to what it does to the car next.
How should you prioritize memory before your run?
Prioritize the parts that change the car’s path: the first turn, transitions between elements, and any section where the course tightens or opens. Group similar sections together, then attach each group to a landmark or worker station. That keeps memory focused on sequence instead of isolated cones.
Use anchors, not cone counts
Counted cones are easy to lose. Anchors are easier to keep. A corner-worker station, a curb, a pole, a wall of cones, or the start and finish can all help you remember where you are. The goal is to remember what happens next, not how many cones came before it.
How to work with an experienced driver
If an experienced driver is available, ask which section they would protect first and which section they would attack second. That question gets you a line-choice answer faster than asking for a full lap description. It also helps you compare your read of the course map with someone who already knows where the tricky transitions sit.
What the safety scan should include
Safety is part of the walk, not a separate checklist. Scan for clear space between the course and hazards, worker stations with sightlines and escape routes, and places where a missed line could reach poles, curbs, or spectators. A good layout keeps the car and the workers away from those edges.
Frequently asked questions
How do I spot slaloms, offsets, and decreasing-radius turns during a course walk?
Look for the shape of the cones and what the next gate demands. A slalom is an alternating left-right cone line. An offset forces a lane change under braking. A decreasing-radius turn tightens after turn-in, so the exit becomes more demanding than it first appears.
What makes a good racing line on an autocross course walk?
A good line is the one that preserves speed for the next decision point. That usually means early setup before a gate, clean rhythm through a slalom, and patient turn-in for a tightening sweeper. The best line is the one that makes the next element easier, not harder.
How many times should I walk the autocross course before my run?
Walk it enough times to know the sequence without guessing. Many clubs recommend arriving early enough to walk before running, and repeated laps on foot help the layout stick. The right number is the one that lets you recall transitions, not just recognize cone shapes.
Should I walk the autocross course with an experienced driver?
Yes, if one is available. An experienced driver can point out which sections need early setup, where the line changes under braking, and where similar-looking gates are not actually the same. That guidance is especially useful on courses with repeated offsets or mirrored sections.
Can I use the course map instead of walking the course?
No. The map is the preview, not the whole read. It helps you understand the layout and element sequence before you step on course, but walking shows cone spacing, hazard placement, and the transitions that are easy to miss on paper. Use the map first, then confirm it on foot.
Related autocross guides
If you want a fuller foundation, start with autocross basics, then review cone penalties so you know what mistakes cost time. For newer drivers, novice tips can help turn a walk into a clearer run plan. To go deeper on line choice and visualization, see course design and safety, slalom technique, and reading course maps.