How to Install a Racing Harness with a Harness Bar
Install the bar first, then the seat, then the shoulder belts, lap belts, and anti-submarine straps. Keep the shoulder belts level or slightly down from the driver’s shoulders, generally no more than about 0–20° below shoulder height unless the belt maker specifies otherwise. This setup is for street, track-day, and competition installs where the seat, bar, and belt type are matched correctly; it is not for dog harness searches, wiring harness questions, or making a custom harness bar. Use this guide when you need a clear harness-bar install sequence, seat and strap geometry checks, and the street-versus-track-versus-competition rules that keep the system safe.
Can you install a racing harness with a harness bar?
Yes, but only when the bar, seat, and belt type work together. A harness bar is an upper shoulder-belt mounting point, not roll-over protection, and it does not make every belt safe in every car. The setup must keep the shoulder straps at the right height and route the lap belts low across the pelvis.
What the harness bar does and does not do
The bar gives the shoulder belts a defined rear mounting point so they do not float around the seatback. It does not replace a roll bar or roll cage, and it does not fix bad seat geometry. If the bar sits too low, too far rearward, or in the wrong position for the driver, the shoulder belts can pull the upper body downward or forward in a crash.
Keep one rule in mind: the bar is part of the restraint system, not a universal anchor for every belt end. Wrap-around and clip-in belt ends attach differently, and the maker’s hardware rules matter.
Which setups this guide covers?
This article covers factory seats with an ASM belt, race seats with 4-point, 5-point, or 6-point belts, and competition setups that use a roll bar or roll cage. It also covers the common failure mode where the bar is installed before the seat fit is checked, which often leaves the shoulder belts too low or the lap belts riding on the bolsters.
Harness bar checklist
Use this checklist before and after installation. It keeps the order straight and gives you a quick pass-fail screen for the geometry that matters most.
| Step | What to measure | Pass/fail target | Common mistake |
|---|---|---|---|
| Bar height | Bar position relative to the driver’s shoulder line | Shoulder straps start level or slightly down, usually 0–20° below shoulder height unless the belt maker says otherwise | Setting the bar too low or too far rearward |
| Shoulder routing | Strap path from shoulders to bar | Belts ride over the collarbone and stay close to the neck without rubbing on seat edges | Routing over the seat sides or letting the belts spread wide |
| Lap belt path | Where the lap belts cross the pelvis | Low on the pelvis, clear of the soft abdomen, and not over the seat bolsters | Anchoring the lap belts too high |
| Seatback shape | Seatback slope at shoulder height | No seatback shape that forces the shoulder belts into a bad angle or blocks proper routing | Using a seat that tips the belts outward or downward |
| Type of belt | ASM, non-ASM, and number of points | Matches the vehicle use: street, track-day, or competition-only | Using a competition belt in a street setup without the right bar or cage |
| FHR fit | Shoulder strap width against the head restraint yoke | 2-inch straps are typically a better fit with a head restraint; 3-inch straps are often uncomfortable over most yokes | Choosing wide straps that conflict with the device |
| Final tension | Belt slack at the shoulders and lap | All the way tight, all the time | Leaving slack for comfort |
What you need before you start
Gather the belt kit, the bar hardware, and the seat hardware before you drill, tighten, or route anything. Follow the vehicle manual and the belt maker’s instructions for fasteners, anchor points, and torque; do not guess. If the work touches airbags, seat mounts, or seat belts, keep items out of airbag zones and the driver’s view, and check local laws.
Parts and hardware
- Harness bar designed for your vehicle
- Belt with the correct point count for the use case
- Appropriate belt-end hardware for wrap-around or clip-in attachment
- Seat rails, mounts, or spacers approved for the seat and vehicle
- New or correct-grade mounting bolts and washers if the kit calls for them
Tools and reference points
- Torque wrench sized for the fasteners you are tightening
- Ratchet, sockets, and trim tools
- Measuring tape and a simple angle reference for shoulder and lap belt checks
- Marker or tape for marking seat position before removal
Vehicle and seat checks
Confirm the seat type first. Fixed-back race seats often work better with belt geometry than reclining seats, but stock 3-point belts still matter if the car remains street-driven. BimmerWorld says stock 3-point belts must not be used with a race seat, so the seat and restraint system need to be planned together.
Shoulder support is part of the decision. A seat that ends too low at shoulder height can leave the belts unsupported, and a seatback that slopes in the wrong way can spoil the geometry even if the bar is mounted cleanly.
How do you install the harness bar and harness?
Install the bar before the belts, then fit the seat, then route and tighten the belt set in the order the manufacturer specifies. The shoulder belts need a bar position that matches the driver’s shoulders, and the lap belts need anchor points that keep them low on the pelvis. Do not finish the install until you have checked belt angle, seat clearance, and final torque.
-
Mock up the seat position.
Set the seat where the driver will sit, then mark the fore-aft location and backrest angle. This matters because the bar height only makes sense after the seatback angle and shoulder line are known. -
Position the harness bar.
Fit the bar at the height and location recommended for the vehicle kit, then confirm that the shoulder strap path will be level or slightly down from the driver’s shoulders. If the bar ends up far rearward, the belts can pull at the wrong angle even if the bar is physically above the seat. -
Tighten the bar hardware.
Install the supplied bolts, washers, sleeves, or spacers in the order the kit calls for, then torque them to the manufacturer’s specification. If the kit does not include a number, use the vehicle and bar instructions rather than a generic torque guess. -
Install the seat.
Refit the seat and verify that the shoulder openings or upper bolsters do not force the belts outward. The seat should support the torso without creating a sharp edge where the straps pass. -
Attach the shoulder belts.
Use the approved method for your belt ends: wrap-around ends go around the bar as directed by the belt maker, while clip-in ends use the proper eye bolt or attachment point if the system is approved for that hardware. Do not clamp a wrap-style belt to a bar with the wrong part. -
Route the lap belts.
Run the lap belts low across the pelvis and clear of the seat bolsters. The belts should not ride up onto the stomach or over the top of the seat padding. -
Fit the anti-sub strap.
On a 5-point or 6-point belt, place the anti-submarine strap through the seat opening or approved routing path so it stays centered. This strap keeps the lap belt from rotating upward in a crash. -
Tension the entire harness.
Tighten the lap belts first, then the shoulder belts, then the anti-sub strap as the belt maker instructs. BimmerWorld’s rule of thumb is simple: all the way tight, all the time. -
Check motion and clearance.
Sit in the car and verify that the wheel, pedals, shifter, and release hardware still work without forcing the belts out of position. Then recheck torque after the seat has been moved or removed.
Picture a bar that lands one inch too low after the seat is installed. The shoulder belts will still feel snug, but the strap angle can be wrong enough to change crash loading. The fix is not extra belt slack; it is correcting the bar or seat position before driving.
What harness angles are safe?
Safe geometry starts with the shoulders, then the lap belts, then the seatback. Shoulder belts should ride over the collarbone as close to the neck as possible, and the bar should place them level or slightly down from the shoulders unless the belt maker allows a different range. The lap belts must stay low on the pelvis and clear of the seat bolsters.
Shoulder belt height and routing
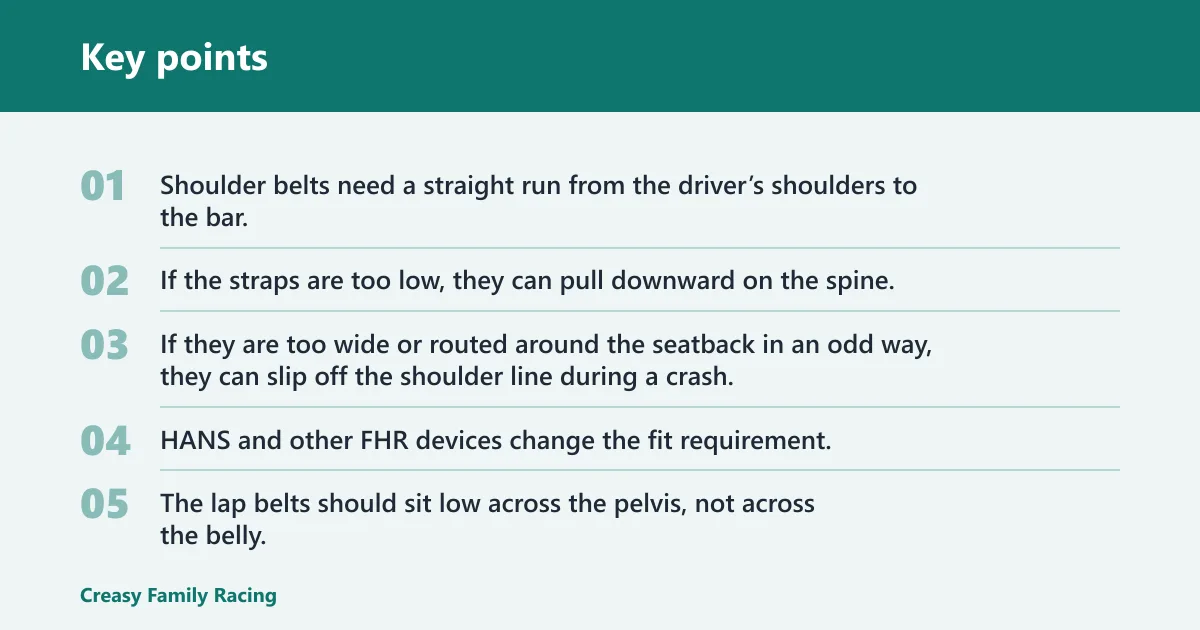
Shoulder belts need a straight run from the driver’s shoulders to the bar. If the straps are too low, they can pull downward on the spine. If they are too wide or routed around the seatback in an odd way, they can slip off the shoulder line during a crash. Schroth’s published guidance places shoulder straps in a narrow, controlled run and ties the exact fit to the belt and restraint combination, not to a loose universal rule.
HANS and other FHR devices change the fit requirement. Schroth belts can use 2-inch shoulder straps with a head restraint, and Schroth notes that 3-inch straps are usually uncomfortable over most FHR yokes. Schroth also says some 2-inch designs can be used without a head restraint, but you still need to follow the exact product listing for the belt and device.
Lap belt position and seat-bolt clearance
The lap belts should sit low across the pelvis, not across the belly. They also need to clear the seat bolsters and seat frame, because a belt that rides on a sharp edge can change how load transfers in a crash. Check the path with the driver seated and buckled, not just with the seat empty.
A common first-timer mistake is routing the lap belt over the outside of a tall seat bolster because it looks neat. The belt may buckle easily, but it will not stay where it belongs under load.
Seatback slope and bar placement
Seatback slope changes the effective shoulder angle. The same source says if a seatback slopes at shoulder height, belts should not be installed, but that warning is about the geometry problem, not about any seat that leans at all. The real check is whether the seat and bar together keep the shoulder belts in the safe range and prevent side-loading or downward pull.
Street car setup
For a street car, the safest practical path is usually a factory seat with an ASM belt when the rest of the setup supports it. Without a roll bar, a 4-point ASM belt is acceptable, but a 4/6-point non-ASM competition belt is not acceptable. If the setup cannot keep the shoulder belts correctly positioned, step back to a stock belt system until the hardware is changed.
Factory seat with an ASM belt
Factory seats can work when the belt maker approves the seat shape and the system uses the right anti-submarine design. The seat must still hold the shoulders and keep the lap belts low, and the bar must place the shoulder straps correctly. If the seatback shape fights the belt path, the installation is wrong even if the bolts are tight.
When a harness bar is not enough
A bar does not add rollover protection. It also does not make a non-ASM competition belt safe in a car without a roll bar. If the vehicle sees regular street use and you cannot meet the belt maker’s geometry and anchor rules, the correct answer is to change the restraint plan rather than forcing the bar to do a job it cannot do.
Track-day setup
Track-day cars often work best with a fixed-back race seat, a bar, and a HANS or similar FHR device. That combination helps the shoulder belts stay in place and keeps the driver centered under load. The seat must support the shoulders, the bar must set the shoulder angle correctly, and the belts must be compatible with the head restraint.
Race seat fitment
Fixed-back seats usually provide better shoulder support than reclining seats, especially when you need the belts to stay in a narrow corridor close to the neck. The same source says the safest roll-bar setup is a race seat with a 4 or 6-point belt. Even so, the seat must match the car and the belt, or the geometry will be off.
Do not treat every race seat as a clean replacement for factory belts. The same source says stock 3-point belts must not be used with a race seat, so the restraint plan should be complete before the seat goes in.
HANS or FHR device with shoulder strap width
Shoulder strap width affects comfort and fit over the FHR yoke. Schroth says 2-inch shoulder straps can be used with a head restraint, while 3-inch straps are usually uncomfortable over most FHR yokes. If the device and belt do not fit together cleanly, choose the belt width the manufacturer approves for that exact setup.
Competition setup
Competition use calls for the strictest combination of bar, seat, and belt. The same source states competition belts must only be used with a roll-bar or roll-cage, and non-ASM competition belts are not acceptable without that structure. The reason is simple: the mounting system, the rollover risk, and the restraint design all have to match.
Roll bar or roll cage pairing
A roll bar adds a safer mounting environment for competition belts and improves rollover protection compared with a bar alone. The safest roll-bar setup, according to BimmerWorld, is a race seat with a 4 or 6-point belt. If the car is being built for real competition, plan the bar, seat, and belt as one system.
Non-ASM harness use limits
Non-ASM competition belts are not a general street solution. The same source says without a roll-bar, a 4/6-point non-ASM Competition belt is not acceptable. Some previous belt designs remain valid for five years from manufacture, and Schroth competition belts meet FIA standards revised in 2018, with new Schroth designs meeting FIA 8853-2016 regulations, but the approval still has to match the actual use case.
Frequently asked questions
How do you install a racing harness with a harness bar?
Install the bar first, fit the seat second, and route the belts last. The shoulder belts should leave the driver’s shoulders level or slightly down, the lap belts should sit low across the pelvis, and the hardware must follow the belt maker’s attachment method for wrap-around or clip-in ends.
What harness mounting angles are safe for shoulder and lap belts?
Shoulder belts should run over the collarbone as close to the neck as possible, then back to the bar at a level or slightly downward angle, usually 0–20° below shoulder height unless the belt maker says otherwise. Lap belts should stay low on the pelvis and clear the seat bolsters.
Can you use factory seats with a racing harness and harness bar?
Sometimes, but only if the seat shape and belt type work together. Factory seats can support an ASM-style street setup better than many race seats can support stock 3-point belts, while race seats often improve belt geometry. The seatback shape still has to preserve the correct shoulder and lap paths.
Do you need a racing seat to run a racing harness safely?
Not always, but the seat must fit the belt geometry. A factory seat can work in some street-oriented ASM setups, while a fixed-back race seat usually gives better support for track use and competition. The wrong seatback slope or shoulder height can make even a correctly mounted bar unsafe.
Should a harness bar be used with a 4-point or 6-point harness?
Use the bar only when the belt type and vehicle setup call for it. For competition, a roll bar or roll cage is the proper match for 4- or 6-point non-ASM systems.
How tight should a racing harness be for track driving?
Tight enough that there is no slack at the shoulders or lap, with the driver held firmly in the seat. BimmerWorld’s guidance is direct: all the way tight, all the time. Recheck the belts after settling into the seat, because padding and clothing can change the final fit.
Can you use a racing harness without a roll bar?
Yes, but only in limited street-oriented setups, and only when the belt type is approved for that use. The same source says a 4-point ASM belt is acceptable without a roll-bar, while a 4/6-point non-ASM Competition belt is not. If the belt is non-ASM, the roll bar or cage is part of the safety plan.
What shoulder strap width works with a HANS device?
The same source says 2-inch shoulder straps can be used with a head restraint, and it also notes that 3-inch straps are usually uncomfortable over most FHR yokes. Choose the width the belt and device maker approves for that exact pairing, since width affects both comfort and routing.